Why You Need a pH Meter
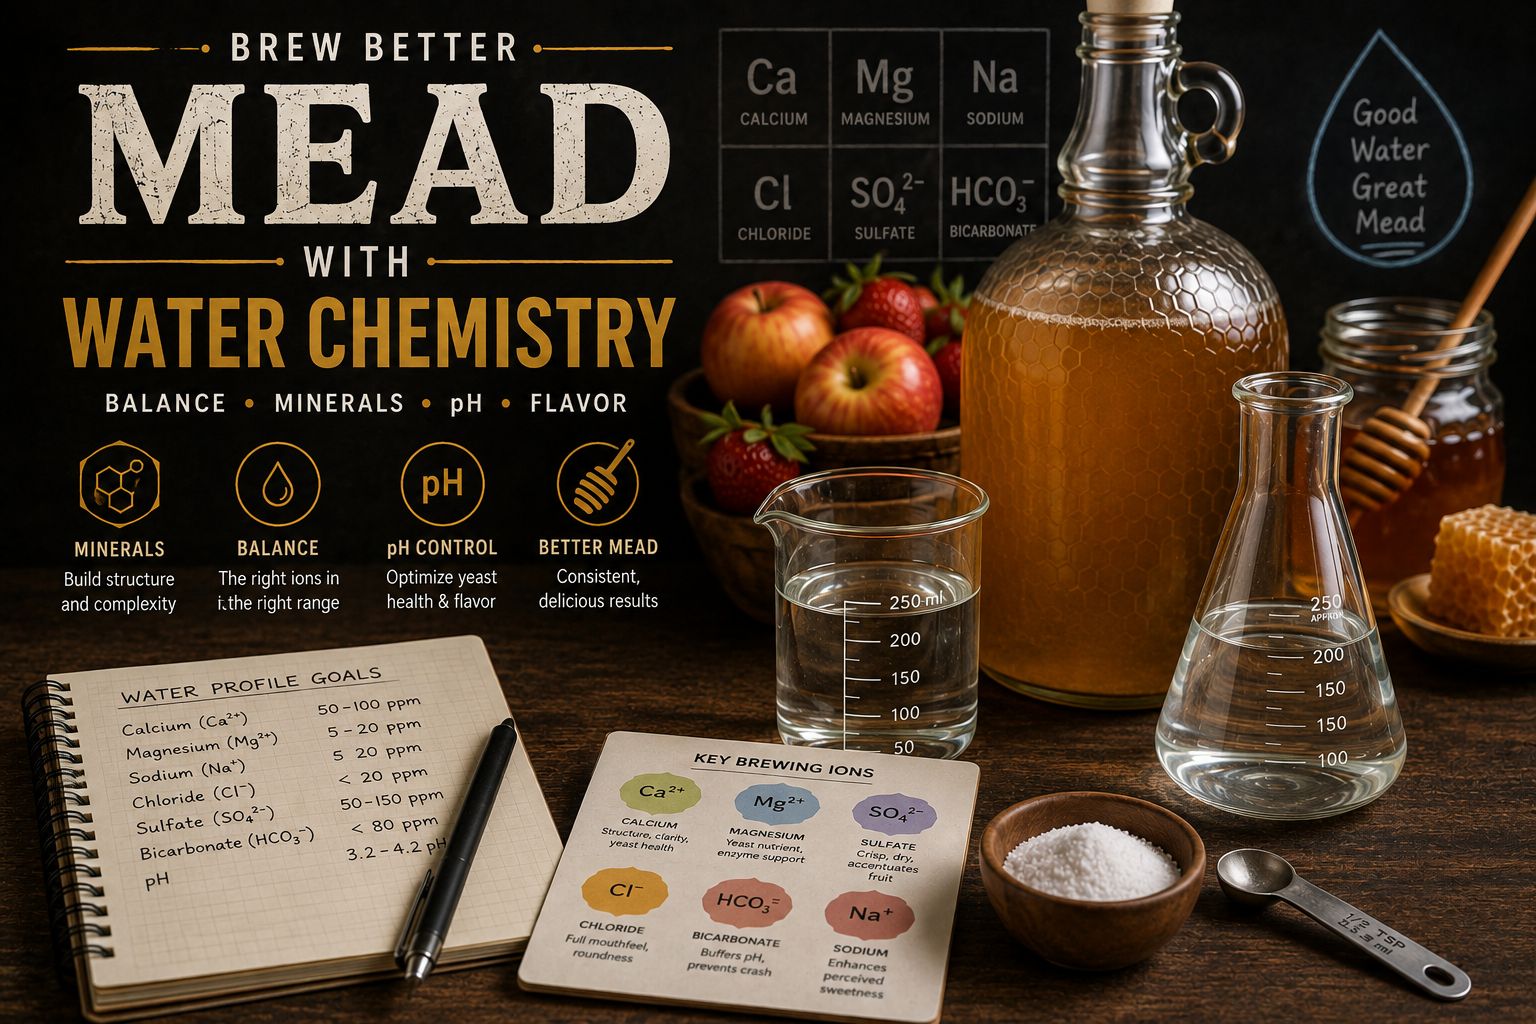
In Part 1, I mentioned that target pH for mead must be between 3.2 and 4.2. But how do you actually know where you stand?
You can't taste pH. You can't see it. And while test strips give you a ballpark figure, they are too imprecise for managing a fermentation. A difference of 0.2 pH can be the difference between a healthy fermentation and a stalled one.
A digital pH meter gives you the precision needed to:
- Verify your starting must pH before pitching yeast
- Monitor for pH crashes during active fermentation
- Ensure your final product is stable and balanced before bottling
My Setup: The Eric Hill EPH01
I currently use the Eric Hill EPH01 Digital pH Meter. It's a reliable budget option that serves my needs well.
However, if you're looking for a step up in build quality or stability, I recommend looking for a meter in the $50–$80 range on Amazon (such as those from brands like Apera or Bluelab). In this price bracket, you generally get better probe longevity, more precise calibration options, and a more robust housing. While the entry-level meters work, spending a bit more upfront often means fewer replacements over time.
The Golden Rule: Calibration is Non-Negotiable
If you just take a pH meter out of the box and dip it in your must, you are probably reading a lie.
pH probes drift. Temperature changes, storage conditions, and the chemistry of the liquids they touch all cause the sensor to shift. Calibration is the process of telling the meter: "This specific liquid is exactly pH 4.01, and this one is exactly 6.86."
How I calibrate:
- I use standard calibration buffer liquids (usually included with the meter).
- I pour them into small cups to create precise 4.01 and 6.86 solutions.
- I calibrate the meter at the start of every brewing session or at least once a month.
If you skip calibration, you're just guessing. I've seen meters drift by as much as 0.5 pH in a few weeks. In a world where 0.2 pH matters, that's a disaster.
Best Practices for Meter Maintenance
A pH probe is a delicate piece of glass. If you treat it like a thermometer, it will die in three months. If you treat it like a lab instrument, it will last years.
1. Never let the probe dry out. The glass bulb must stay hydrated to function. Always store the probe in the designated storage cap filled with KCl (potassium chloride) storage solution (typically 3M KCl). Never store it in distilled water—distilled water will actually leach the ions out of the probe and kill it.
2. Rinse between every dip. Always rinse the probe with distilled water before and after measuring. If you dip a probe into a must with 15% honey and then dip it into a calibration solution, you've contaminated your solution and potentially fouled your probe.
3. Be gentle. The bulb is thin glass. Don't scrape it against the bottom of your fermenter or stir your must with it.
4. Temperature matters. pH readings change based on temperature. Most modern meters (including the EPH01) have Automatic Temperature Compensation (ATC), but it's still best to measure your must at room temperature (~68-72°F) for maximum consistency.
pH vs. Acidity
A common point of confusion is the difference between pH and "acidity."
- pH is a measurement of the concentration of hydrogen ions. It's a logarithmic scale, meaning a pH of 3.0 is ten times more acidic than a pH of 4.0.
- Acidity (Total Acidity) is the total amount of acid present.
You can have a mead with a low pH (very acidic) but low total acidity, or vice versa. For most mead makers, managing the pH is the priority because it's what the yeast feels. If your pH is too high, you add acid (like tartaric or lactic) to bring it down. If it's too low, you add a buffer (like bicarbonate) to bring it up.
Summary Checklist
- Get a digital meter (Eric Hill EPH01 is a great budget choice)
- Buy calibration buffers (4.01 and 6.86)
- Buy KCL storage solution (do not use distilled water for storage)
- Calibrate before every session
- Rinse with distilled water between every measurement
- Store the probe hydrated
Comments